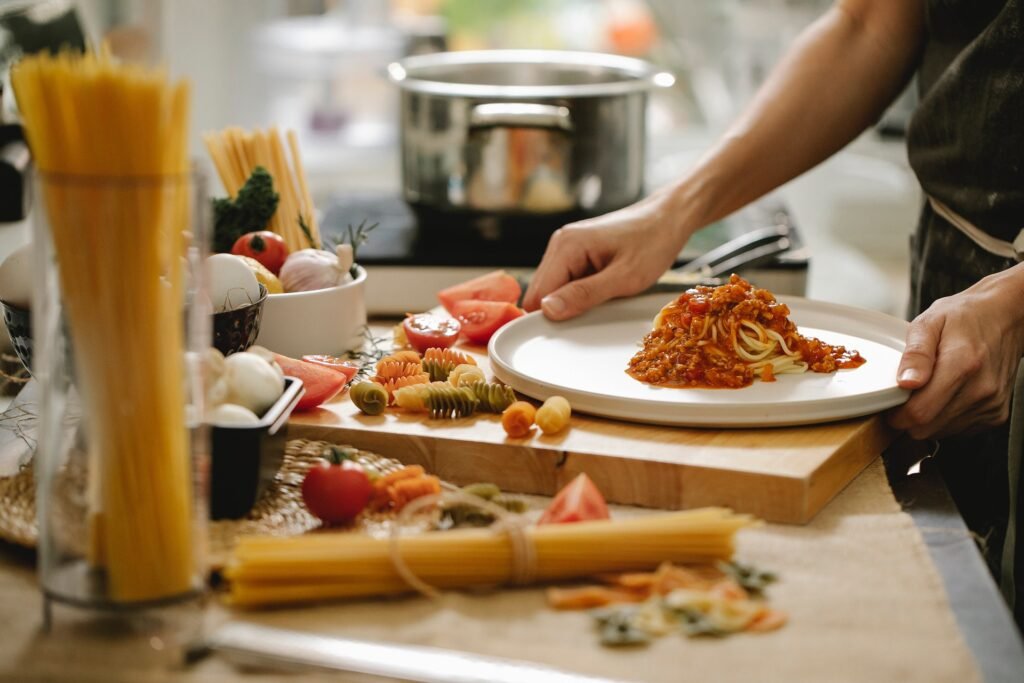
My Journey to Solar-Powered Outdoor Kitchen Setup
Hey there, fellow outdoor cooking enthusiasts! I’m Bright, a passionate home chef and sustainability advocate.
My journey into building the solar-powered outdoor kitchen setup began three years ago when I decided to combine my love for grilling with my commitment to reducing my carbon footprint.
It was a warm summer evening in 2021, and I was standing in my backyard, tongs in hand, ready to fire up the grill for our annual family barbecue.
As I reached for the propane tank, a thought struck me – why am I still relying on fossil fuels for my outdoor cooking when the sun is beaming down on us all day long?
That moment of realization sparked which led me to create the solar-powered outdoor kitchen of my dreams.
Fast forward to 2024, and I’m excited to share everything I’ve learned with you.
According to a recent survey by the National Outdoor Living Association, the people switching to solar have seen a staggering 150% increase in popularity over the past year.
Understanding Solar Power Basics for Outdoor Kitchens
Before we start assembling our dream outdoor kitchen, it’s crucial to understand the fundamentals of solar power. After all, this knowledge will help you make informed decisions about your setup and troubleshoot any issues that may arise.

What is Solar Power and How Does it Work?
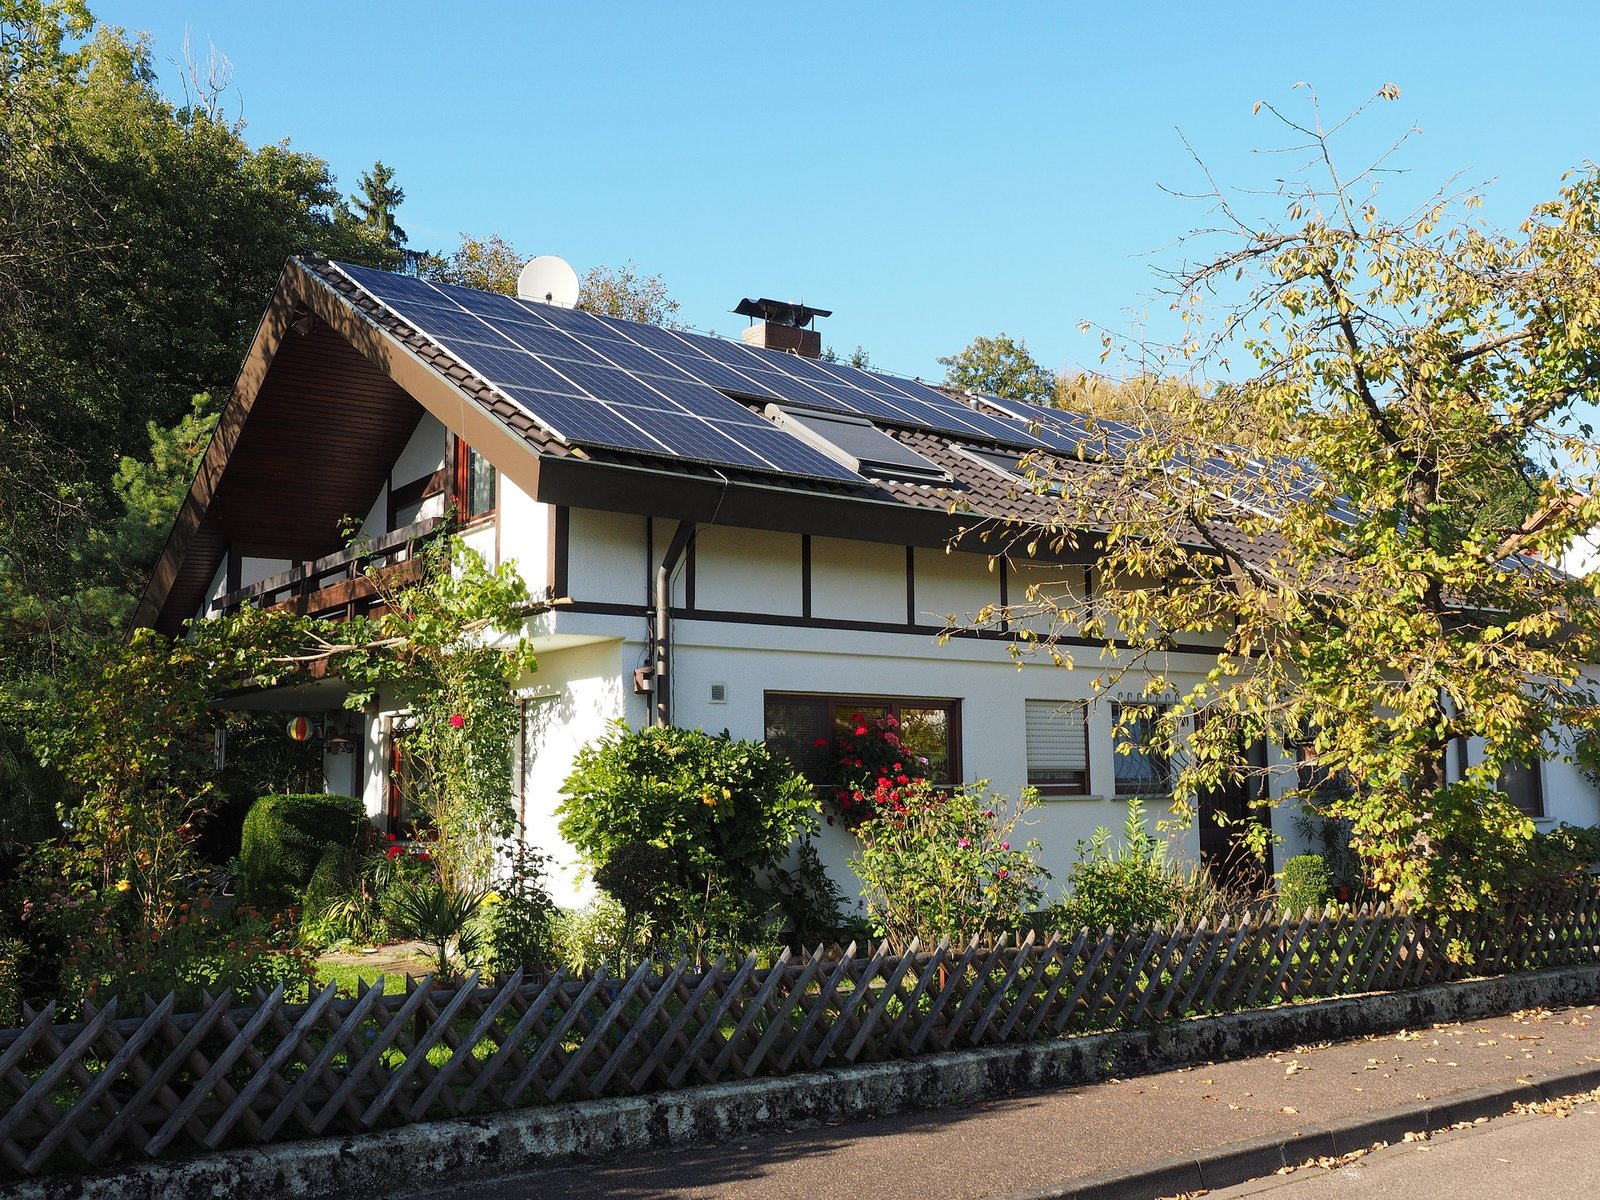
Solar power is the conversion of energy from sunlight into electricity. This process occurs through photovoltaic (PV) cells, which are the building blocks of solar panels. When sunlight hits these cells, it excites the electrons within them, creating an electric current. This direct current (DC) electricity is then converted into alternating current (AC) by an inverter, making it usable for standard appliances and devices.
Types of Solar Panels Suitable for Outdoor Kitchens
When it comes to choosing solar panels for your outdoor kitchen, you have several options:
Monocrystalline Panels
These are the most efficient and space-effective options. They’re made from a single crystal structure, giving them a uniform dark appearance.
While they’re more expensive, their high efficiency makes them ideal for smaller spaces.
Polycrystalline Panels
Slightly less efficient than monocrystalline, these panels are made from multiple crystal structures.
They have a speckled blue appearance and are generally more affordable. They’re a good middle-ground option for many outdoor kitchens.
Thin-Film Panels
These are the least efficient but also the most flexible and lightweight.
They can be a good option if you have ample space and want to integrate solar panels into unconventional surfaces.
Bifacial Panels
These innovative panels can capture sunlight from both sides, potentially increasing energy production.
They can be particularly useful if you have reflective surfaces nearby, like a light-colored patio or pool.

Calculating Your Outdoor Kitchen’s Energy Needs
One of the most crucial steps in setting up your solar-powered outdoor kitchen is accurately calculating your energy needs. Here’s how I approached this:
List All Appliances
Start by listing all the electrical appliances you plan to use in your outdoor kitchen.
For me, this included a refrigerator, induction cooktop, blender, LED lights, and a small water pump. Check Out Our Free Solar Lighting Cost Calculator
Determine Wattage
Find out the wattage of each appliance. This information is usually listed on the appliance itself or in its manual.
For example, my energy-efficient outdoor refrigerator uses about 100 watts, while my induction cooktop uses 1800 watts when in use.
Estimate Usage Time
Consider how long you’ll use each appliance daily.
I estimated 24 hours for the refrigerator, 2 hours for the cooktop, 15 minutes for the blender, 5 hours for LED lights, and 1 hour for the water pump.
Calculate Daily Energy Consumption
Multiply the wattage by the number of hours used per day for each appliance, then sum these up. For instance:
- Refrigerator: 100W * 24h = 2400Wh
- Induction Cooktop: 1800W * 2h = 3600Wh
- Blender: 500W * 0.25h = 125Wh
- LED Lights: 50W * 5h = 250Wh
- Water Pump: 100W * 1h = 100Wh
Total: 6475Wh or about 6.5kWh per day
Factor in Inefficiencies
Add about 20% to account for energy loss in the system. This brought my total to about 7.8kWh per day.
Remember, your energy needs may vary depending on your specific appliances and usage patterns. It’s always better to overestimate slightly than to run short on power!
Battery Storage Options for Nighttime and Cloudy Days
To ensure a consistent power supply, even when the sun isn’t shining, you’ll need a robust battery storage system. Here are some options I considered:
Lead-Acid Batteries
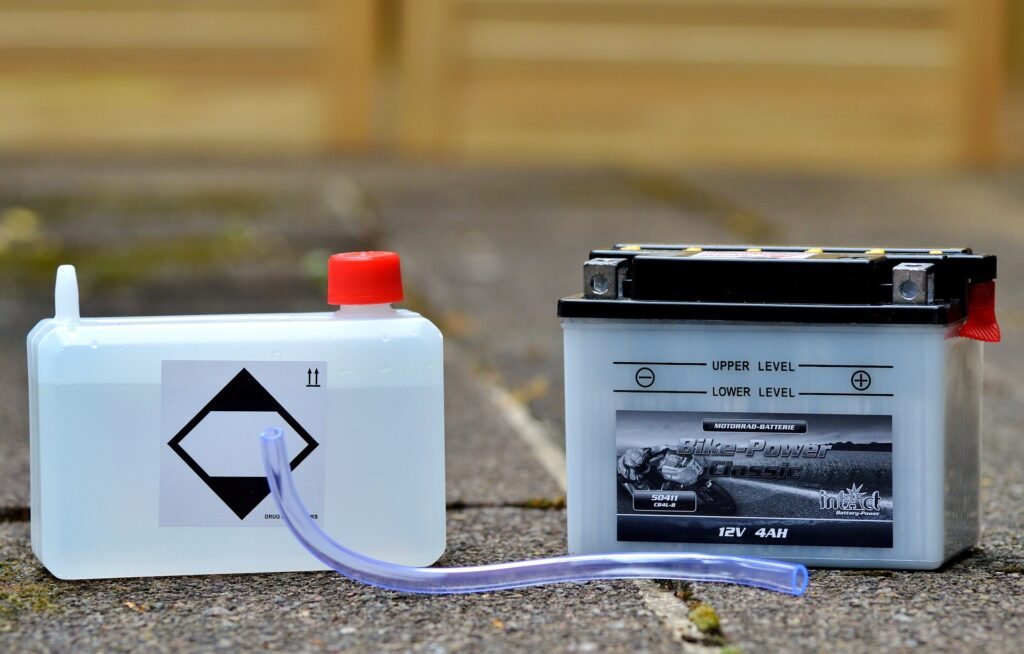
These are the most affordable options but have a shorter lifespan and lower depth of discharge. They’re bulky and require regular maintenance.
Lithium-Ion Batteries
More expensive upfront but offers a longer lifespan, higher efficiency, and requires minimal maintenance.
They’re also lighter and more compact. This is what I ultimately chose for my setup.
Saltwater Batteries
An eco-friendly option that uses saltwater electrolytes. They’re non-toxic and can be fully discharged without damage, but they’re less energy-dense than lithium-ion batteries.
Flow Batteries
These use liquid electrolytes and can be a good option for larger setups. They have a long lifespan and can be fully discharged without damage.
I opted for a 10kWh lithium-ion battery system, which provides enough storage for a full day’s use plus some extra capacity for cloudy days.
The higher upfront cost was worth it for the peace of mind and long-term reliability.
Essential Components of a Solar-Powered Outdoor Kitchen
Now that we’ve covered the basics of solar power, let’s dive into the essential components you’ll need for your solar-powered outdoor kitchen. Each element plays a crucial role in creating a functional and efficient setup.
Solar Panels and Mounting Systems
The heart of your solar-powered kitchen is, of course, the solar panels themselves. Based on my energy calculations, I installed a 3kW system consisting of ten 300-watt monocrystalline panels. This setup generates about 12kWh on a sunny day, which is more than enough to cover my daily needs and charge the batteries.
When it comes to mounting your panels, you have several options:
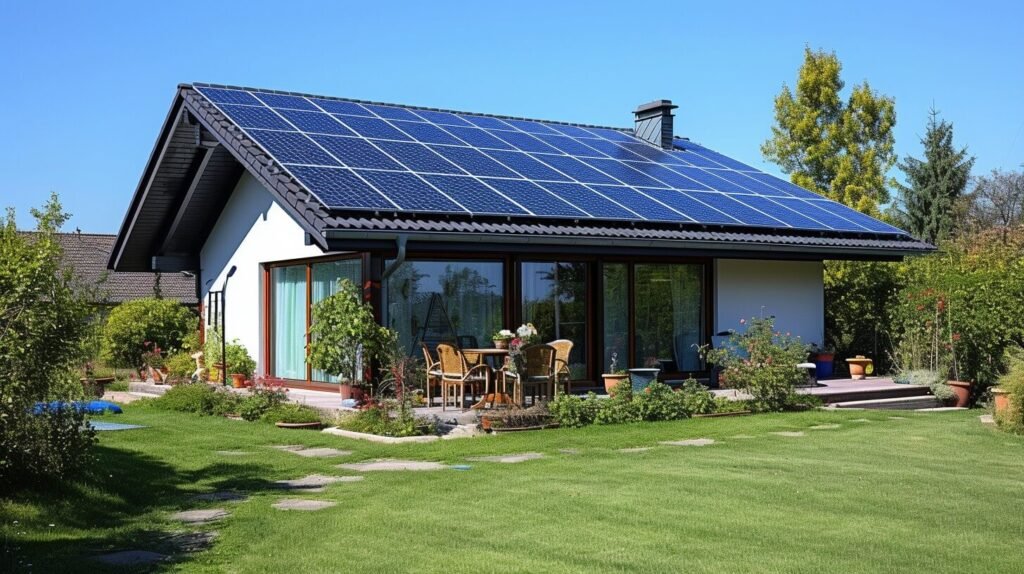
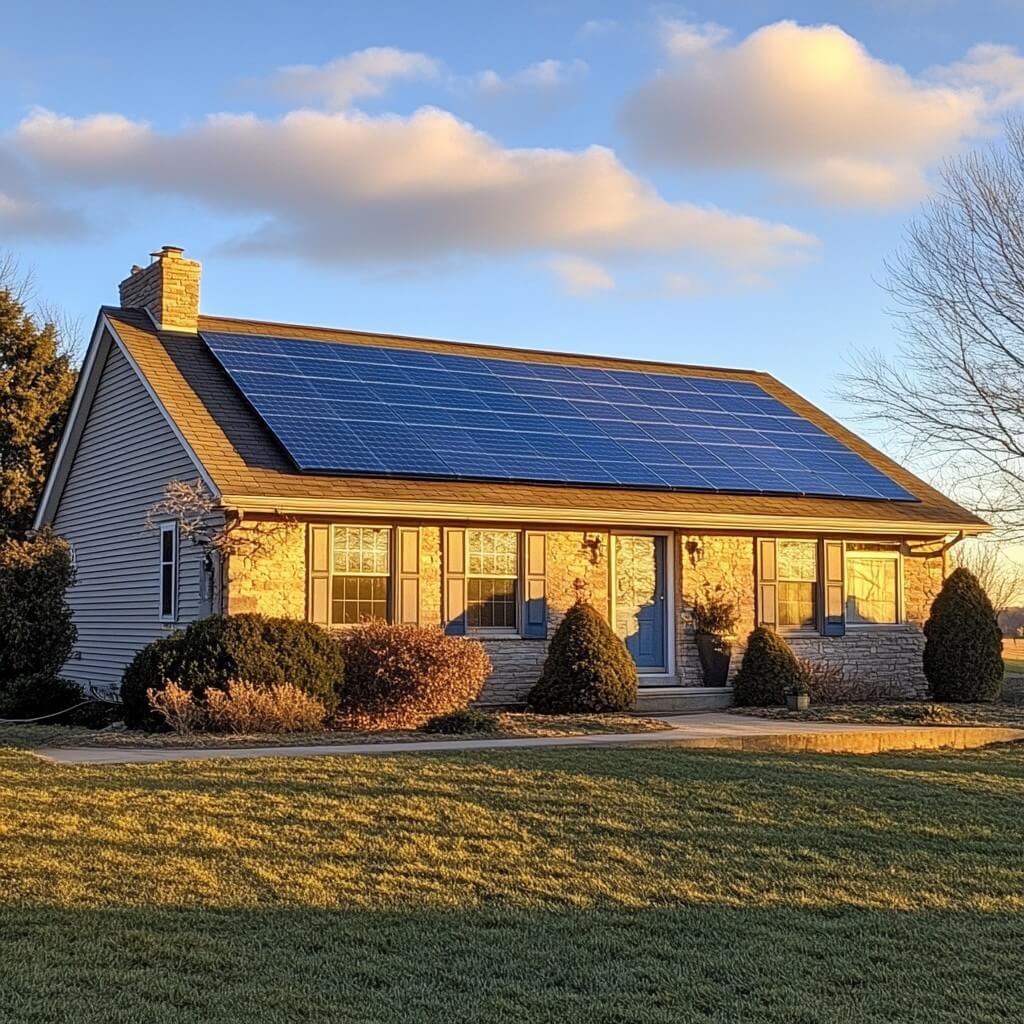
- Roof Mount: If your outdoor kitchen has a roof or is near your house, this can be a great option. It keeps the panels out of the way and often provides optimal sun exposure.

- Ground Mount: This is what I chose for my setup. It allows for easy access for cleaning and maintenance, and I was able to position the panels for maximum sun exposure throughout the day.
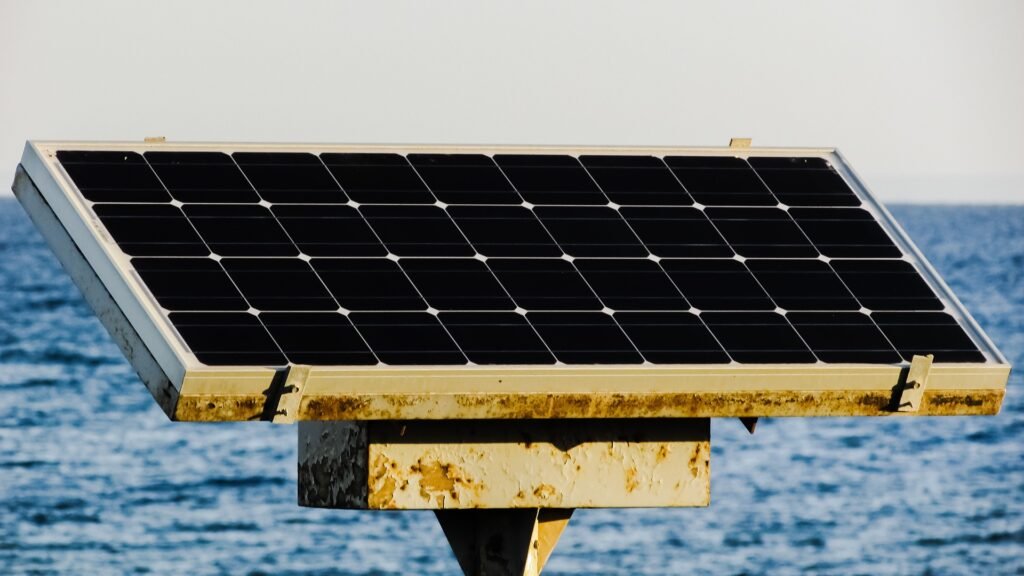
- Pole Mount: This can be a good option if you have limited ground or roof space. It also allows for easy adjustment of the panels’ angle.
- Tracking System: While more expensive, a tracking system that follows the sun’s movement can increase your energy production by up to 30%.
Remember to check local regulations and obtain any necessary permits before installing your solar panels!
Inverters and Charge Controllers
These components are the brains of your solar power system:
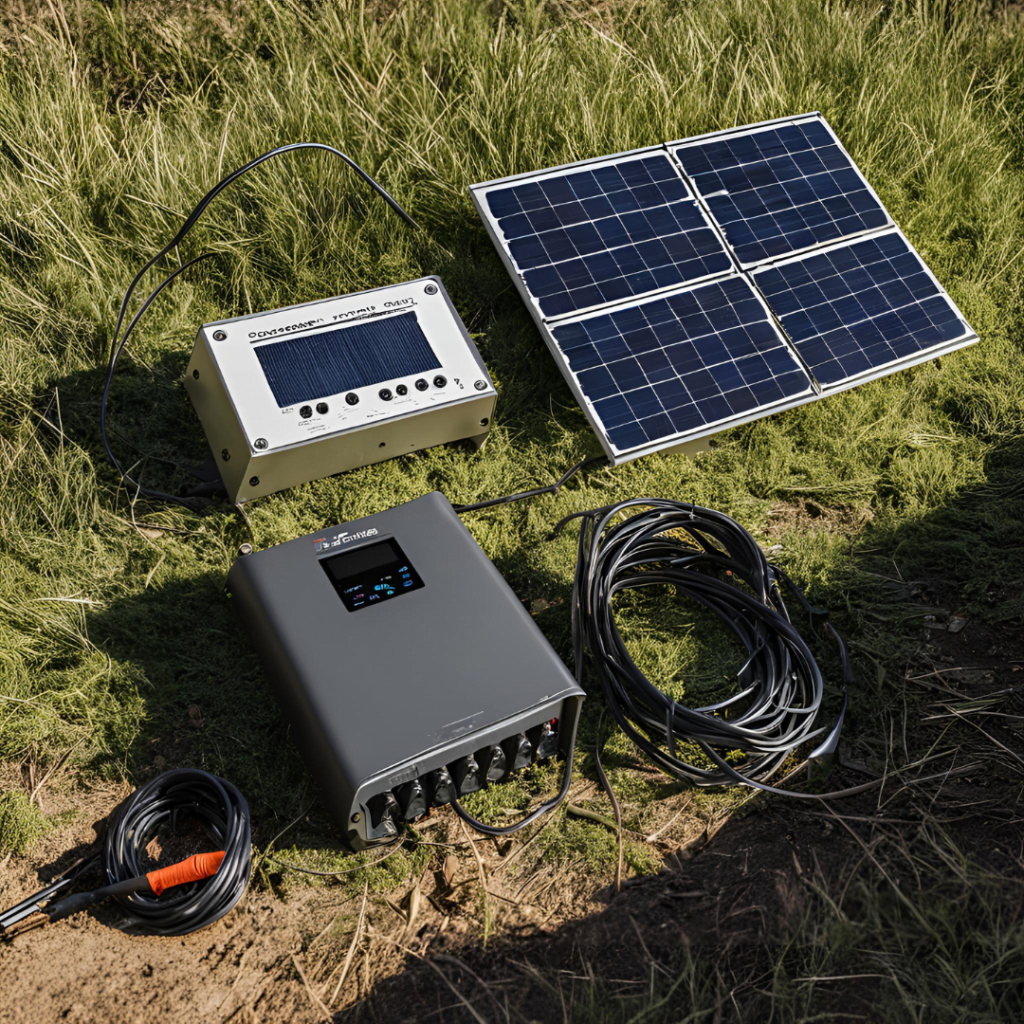
- Inverter: This device converts the DC power generated by your solar panels into AC power that your appliances can use. I chose a hybrid inverter, which can work with both the solar panels and the battery system.
- Charge Controller: This regulates the voltage and current coming from the solar panels to the battery. It prevents overcharging and extends the life of your batteries. I use a Maximum Power Point Tracking (MPPT) charge controller, which is more efficient than older PWM models.
Energy-Efficient Appliances
Choosing the right appliances is crucial for maximizing the efficiency of your solar-powered kitchen. Here are some energy-efficient options I’ve incorporated into my setup:
- Refrigerator: I use a 12V DC refrigerator designed for solar systems. It uses about 60% less energy than a standard kitchen refrigerator.
- Induction Cooktop: Instead of a traditional gas grill, I opted for a portable induction cooktop. It’s incredibly energy-efficient and provides precise temperature control.
- Solar Oven: For slow-cooking dishes, I use a solar oven. It requires no electricity at all, making it the ultimate in solar cooking!
- Blender: I chose a high-efficiency blender with a powerful motor that gets the job done quickly, minimizing energy use.
- Electric Smoker: For those long, slow-cooked barbecue favorites, I use an electric smoker. It’s more energy-efficient than traditional charcoal smokers and provides consistent results.
LED Lighting Solutions for Evening Cooking
Proper lighting is essential for those evening cooking sessions. I’ve installed a combination of:

- LED Strip Lights: These are energy-efficient and provide great ambient lighting. I’ve placed them under countertops and along the edges of my outdoor kitchen structure.

- Solar-Powered Path Lights: These charge during the day and automatically turn on at night, illuminating the area around the kitchen.

- Task Lighting: I’ve installed focused LED lights above the cooking and prep areas for clear visibility when working.
Water Pumps and Filtration Systems
Having running water in your outdoor kitchen is a game-changer. I’ve set up:
- Solar Water Pump: This pumps water from my rainwater collection system to the sink in my outdoor kitchen.
- Water Filtration System: To ensure the rainwater is safe for use in food preparation, I’ve installed a UV filtration system.
By carefully selecting each component, you can create a solar-powered outdoor kitchen that’s both functional and energy-efficient. In the next section, we’ll look at how to design the layout of your kitchen to maximize efficiency and enjoyment!
Designing Your Solar-Powered Outdoor Kitchen Layout
Creating an efficient and enjoyable layout for your solar-powered outdoor kitchen is crucial.
It’s not just about placing appliances and workspaces; it’s about creating a flow that makes cooking a joy while maximizing your solar energy usage.
Here’s how I approached designing my outdoor kitchen layout:
Optimal Placement for Solar Panels and Kitchen Components
The placement of your solar panels will largely dictate the layout of your kitchen. Here are some key considerations:
- Sun Exposure: Your panels need maximum sun exposure. In the Northern Hemisphere, this typically means facing south and angled at your latitude plus 15 degrees. I used a solar pathfinder tool to determine the best location and angle for my panels.
- Proximity to Kitchen: The closer your panels are to your kitchen, the less energy you’ll lose in transmission. I placed my ground-mounted panels about 15 feet from my kitchen area.
- Appliance Placement: Place energy-hungry appliances like the refrigerator and induction cooktop closer to the power source to minimize energy loss.
- Work Triangle: Just like in indoor kitchens, create an efficient work triangle between your cooking area, sink, and refrigerator. I made sure these three key areas were no more than 6 feet apart from each other.
Incorporating Shade Structures Without Compromising Solar Efficiency
Balancing the need for shade in your cooking area with the sun exposure needed for your solar panels can be tricky. Here’s how I managed it:
- Pergola with Retractable Shade: I built a pergola over my kitchen area with a retractable shade cloth. This allows me to have shade while cooking but retract it when I need maximum solar energy.
- Strategic Tree Planting: I planted deciduous trees to the west of my kitchen area. They provide afternoon shade in the summer but allow sunlight through in the winter when their leaves fall.
- Adjustable Umbrellas: For additional flexible shade, I use large, adjustable umbrellas that can be moved as needed.
Weatherproofing Considerations for Electronics and Appliances
Protecting your electrical components from the elements is crucial in an outdoor setting. Here’s how I weatherproofed my kitchen:
- Covered Areas: All major appliances and electrical components are under a covered area to protect from rain and direct sunlight.
- Waterproof Enclosures: The inverter, charge controller, and batteries are housed in a weatherproof enclosure with proper ventilation to prevent overheating.
- GFCI Outlets: All electrical outlets are GFCI (Ground Fault Circuit Interrupter) protected and have weatherproof covers.
- Raised Surfaces: All countertops and electrical components are slightly raised to prevent water accumulation.
- Weather-Resistant Materials: I used weather-resistant materials like stainless steel for appliances and sealed concrete for countertops.
Ergonomic Layout Tips for Comfortable Cooking
An ergonomic layout can make your outdoor cooking experience much more enjoyable. Here are some tips I followed:
- Counter Heights: I customized counter heights to my comfort level. The main prep area is 36 inches high, while the grill area is slightly lower at 34 inches for easier access.
- Storage Accessibility: Frequently used items are stored between waist and shoulder height to minimize bending and reaching.
- Task Lighting: As mentioned earlier, I installed adjustable task lighting above all work areas to reduce eye strain.
- Non-Slip Flooring: I used textured, non-slip tiles for the flooring to prevent accidents, especially when the area is wet.
- Comfortable Seating: I included a small seating area with bar stools at the end of the prep counter. This allows for social interaction while cooking without interrupting the workflow.
Remember, the key to a great outdoor kitchen layout is to make it work for your specific needs and cooking style. Don’t be afraid to customize and experiment until you find the perfect setup for you!

Sustainable Materials for Your Eco-Friendly Outdoor Kitchen
Creating a solar-powered outdoor kitchen is about more than just the energy source – it’s an opportunity to embrace sustainability in every aspect of your design. Here’s how I incorporated eco-friendly materials into my outdoor kitchen:
Recycled Countertop Options
For the countertops, I explored several recycled options before making my choice:
- Recycled Glass: I ultimately chose this for my main prep area. It’s made from recycled glass bottles and mirrors, bound together with a low-VOC resin. The result is a stunning, durable surface that’s heat-resistant and easy to clean.
- Recycled Plastic: For a secondary prep area, I used a countertop made from recycled plastic bottles. It’s incredibly durable and resistant to stains and scratches.
- Recycled Paper: Another option I considered was a countertop made from recycled paper and resin. While I didn’t use it in my kitchen, it’s a great eco-friendly option that’s surprisingly durable and water-resistant.
- Reclaimed Wood: For my bar area, I used a countertop made from reclaimed wood sealed with a food-safe, low-VOC finish. It adds warmth to the space and gives new life to old materials.

Reclaimed Wood for Cabinetry and Seating
I’m a big fan of the character that reclaimed wood brings to a space. Here’s how I incorporated it:
- Cabinetry: I used reclaimed barn wood for my cabinet faces. Not only does this reduce the demand for new lumber, but it also adds a rustic charm to the kitchen.
- Seating: My bar stools are made from a combination of reclaimed wood and recycled metal. They’re sturdy, comfortable, and eco-friendly.
- Accent Wall: I created a beautiful accent wall using a mix of reclaimed wood pieces in different finishes. It serves as a stunning backdrop for the whole kitchen area.

Low-Impact Flooring Choices
Choosing the right flooring for an outdoor kitchen is crucial. It needs to be durable, weather-resistant, and eco-friendly. Here are some options I considered:
- Recycled Rubber Tiles: This is what I ultimately chose for my outdoor kitchen floor. Made from recycled tires, these tiles are durable, slip-resistant, and comfortable to stand on for long periods. They’re also easy to clean and resistant to mold and mildew.
- Bamboo Decking: Bamboo is a fast-growing, sustainable material that makes for excellent outdoor flooring. While I didn’t use it for my main kitchen area, I did install bamboo decking in the adjacent dining area.
- Cork Flooring: Cork is another sustainable option that’s naturally antimicrobial and water-resistant. It’s also comfortable to stand on, which is great for long cooking sessions.
- Recycled Plastic Decking: Made from recycled plastic bottles and wood fibers, this decking material is durable, low-maintenance, and resistant to rot and insects.
Eco-Friendly Outdoor Fabrics for Cushions and Awnings
To complete the sustainable design of my outdoor kitchen, I carefully selected eco-friendly fabrics:
- Recycled Polyester: For my chair cushions and awning, I chose fabrics made from recycled plastic bottles. These materials are durable, fade-resistant, and can withstand outdoor conditions.
- Organic Cotton: For tablecloths and napkins, I use organic cotton treated with a non-toxic water-repellent finish.
- Hemp Fabric: Known for its durability and natural resistance to mold and UV rays, I used hemp fabric for some decorative pillows in the seating area.
Remember, when selecting materials for your outdoor kitchen, consider not just their eco-friendliness, but also their durability and suitability for outdoor use. The goal is to create a space that’s sustainable both in its materials and its longevity.

Smart Technology Integration in Solar-Powered Kitchens
Integrating smart technology into your solar-powered outdoor kitchen can enhance its efficiency, convenience, and fun factor. Here’s how I’ve incorporated smart tech into my setup:
Solar-Compatible Smart Home Systems
I’ve integrated my outdoor kitchen into my larger smart home ecosystem using solar-compatible devices. This includes:
- Smart Power Strip: This allows me to control and monitor the power usage of individual appliances through my smartphone.
- Smart Lighting: My LED lights are connected to a smart system, allowing me to control brightness and color temperature, and set schedules for automatic operation.
- Smart Irrigation: Connected to my water pump, this system helps manage water usage for my herb garden based on weather conditions.
Energy Monitoring Apps and Devices
Keeping track of energy production and consumption is crucial for maintaining an efficient solar-powered kitchen. I use:
- Solar Monitoring App: This connects to my inverter and provides real-time data on solar production, battery status, and energy consumption.
- Smart Energy Meter: Installed at the main supply point, this device gives me detailed insights into which appliances are using the most power.
- Predictive Analytics: My system uses weather forecasts to predict future energy production, helping me plan my cooking activities around expected solar output.
Automated Shading and Lighting Controls
To maximize energy efficiency and comfort, I’ve automated my shading and lighting:
- Motorized Pergola Cover: This automatically adjusts based on the sun’s position and weather conditions, providing shade when needed and retracting to allow maximum solar exposure to my panels.
- Daylight Sensors: These adjust the artificial lighting based on the amount of natural light available, saving energy.
- Motion Sensors: These automatically turn on pathway lights when someone approaches the kitchen area at night.
Voice-Activated Appliances and Assistants
For hands-free control while cooking, I’ve incorporated voice-activated technology:
- Smart Speaker: This allows me to control various aspects of the kitchen, from adjusting lights to setting timers, all with voice commands.
- Voice-Activated Faucet: Perfect for when my hands are full or messy from food prep.
- Smart Display: Mounted on the wall, this allows me to pull up recipes, watch cooking videos, or check on my solar system’s status, all without touching anything.
By integrating these smart technologies, I’ve created an outdoor kitchen that’s not only solar-powered but also intelligent and responsive to my needs.

Cooking Techniques and Recipes for Solar-Powered Kitchens
Cooking in a solar-powered kitchen requires a slightly different approach to maximize energy efficiency. Here are some techniques and recipes I’ve found work particularly well:
Energy-Efficient Cooking Methods
- Solar Oven Cooking: I use my solar oven for dishes that require long, slow cooking. It’s perfect for stews, roasts, and even baking bread.
- Induction Cooking: My induction cooktop is incredibly efficient, heating only the pan and not the surrounding air.
- Batch Cooking: I often prepare larger quantities of food at once, which I can then refrigerate or freeze for later use. This maximizes the use of appliances when solar energy is abundant.
- Raw and Cold Preparations: On particularly hot days when I want to minimize added heat, I focus on salads, cold soups, and other dishes that require minimal or no cooking.
Quick and Easy Solar-Powered Recipes
Here are a few of my favorite recipes that work well in a solar-powered kitchen:
Solar Oven Ratatouille
- Slice eggplant, zucchini, tomatoes, and bell peppers
- Layer in a dark, oven-safe dish with olive oil, garlic, and herbs
- Cover and place in the solar oven for 2-3 hours
Induction-Cooked Stir-Fry
- Heat oil in a wok on the induction cooktop
- Quickly stir-fry your choice of vegetables and protein
- Add a pre-mixed sauce and cook for another minute
- Serve over rice cooked earlier in the day using the solar oven
No-Cook Mediterranean Platter
- Arrange hummus, tzatziki, olives, feta cheese, and sliced vegetables on a platter
- Serve with pita bread warmed briefly on the induction cooktop
Meal Planning to Maximize Energy Usage
Effective meal planning is key to making the most of your solar-powered kitchen. Here’s my approach:
- Cook with the Sun: I plan meals that require the most energy (like baking or roasting) for the sunniest parts of the day.
- Prep in Advance: I do most of my chopping and marinating in the morning when energy demand is low.
- Use Residual Heat: After using the solar oven, I’ll often put in a dish that requires less heat (like keeping bread warm) to make use of the residual heat.
- Plan for Cloudy Days: I keep a stock of meals that require minimal cooking for days when solar energy might be limited.
Tips for Entertaining with Limited Power Resources
Hosting gatherings in your solar-powered outdoor kitchen can be a great way to showcase sustainable living. Here are some tips:
- Buffet Style: Set up a buffet with a mix of hot and cold dishes to reduce the need for last-minute cooking.
- Interactive Cooking: Involve guests in cooking activities that use minimal power, like assembling their own tacos or grilling skewers on a small, efficient grill.
- Signature Solar Cocktails: Create a signature cocktail that can be batch-prepared in advance and stored in your solar-powered refrigerator.
- Education: Use the opportunity to educate your guests about solar power and sustainable cooking. Most people find it fascinating!
Remember, cooking in a solar-powered kitchen is all about working with nature, not against it. Embrace the rhythms of the sun and the seasons, and you’ll find it can be an incredibly rewarding and delicious experience!
Maintenance and Troubleshooting Your Solar Kitchen Setup
Maintaining your solar-powered outdoor kitchen is crucial for ensuring its longevity and optimal performance. Here’s my routine for keeping everything running smoothly:
Regular Cleaning and Inspection of Solar Panels
- Monthly Cleaning: I clean my solar panels once a month using just water and a soft brush. Avoid abrasive materials or harsh chemicals that could damage the panels.
- Quarterly Detailed Inspection: Every three months, I do a more thorough inspection, checking for any cracks, loose connections, or signs of wear.
- Shade Management: Regularly trim any trees or vegetation that might be shading your panels.
Battery Maintenance and Replacement Schedule
- Regular Monitoring: I check my battery’s state of charge and overall health weekly using my monitoring system.
- Equalization Charges: For lead-acid batteries, I perform equalization charges as recommended by the manufacturer, usually every 1-2 months.
- Replacement Planning: Lithium-ion batteries typically last 10-15 years. I’ve set a reminder to reassess my battery’s performance at the 10-year mark.
Winterizing Your Outdoor Kitchen
Living in a region with cold winters, winterizing is an important part of my maintenance routine:
- Drain Water Lines: I always drain and blow out any water lines to prevent freezing and bursting.
- Cover and Protect: I use weather-resistant covers for all appliances and furniture.
- Remove and Store: Any removable components, like the induction cooktop, are stored indoors during the harshest winter months.
- Adjust Panel Angle: I adjust my solar panels to a steeper angle in winter to optimize for the lower sun angle.
Common Issues and DIY Fixes
Here are some common issues I’ve encountered and how I’ve addressed them:
Reduced Solar Output:
- Check for and clean any dirt or debris on the panels
- Verify that there’s no new shading from tree growth
- Inspect wiring for any signs of damage from wildlife or weather
Battery Not Holding Charge:
- Check for loose connections
- For lead-acid batteries, check water levels
- Perform an equalization charge if recommended by the manufacturer
Inverter Issues:
- Check that all connections are secure
- Ensure proper ventilation to prevent overheating
- If you see error codes, consult your manual or contact a professional
Appliance Not Working:
- Check the connection to the power source
- Verify that the appliance is compatible with your system’s voltage
- For induction cooktops, ensure you’re using compatible cookware
Remember, while many issues can be resolved with DIY solutions, don’t hesitate to call a professional for more complex problems, especially those involving electrical systems.
Frequently Asked Questions
To wrap up this guide, here are answers to some of the most common questions I receive about my solar-powered outdoor kitchen:
- Q: How much did your entire setup cost?
A: The total cost was about $15,000, including solar panels, batteries, appliances, and construction materials. However, costs can vary widely based on your specific needs and location. - Q: How long did it take to set up?
A: The entire project took about 6 weeks, with most of that time spent on construction and installation. The solar system itself was installed in about 3 days. - Q: Do you ever run out of power?
A: It’s rare, but it can happen during extended periods of cloudy weather. That’s why I sized my battery bank to cover 2-3 days of typical usage. - Q: Can you use the kitchen in winter?
A: Yes, although I do winterize some components. The solar panels work more efficiently in cold weather, though shorter days mean less overall production. - Q: Do you need any special permits?
A: This varies by location. I needed permits for both the solar installation and the outdoor kitchen construction. Always check with your local authorities. - Q: How much maintenance is required?
A: It’s not too intensive. Regular cleaning of the solar panels, checking connections, and basic upkeep of the kitchen area are the main tasks. - Q: What’s your favorite thing about your solar-powered kitchen?
A: Besides the environmental benefits, I love the self-sufficiency it provides. There’s something special about preparing a meal using energy from the sun!
I hope this comprehensive guide has inspired you to consider creating your own solar-powered outdoor kitchen. It’s been one of the most rewarding projects I’ve undertaken, combining my love for cooking with my commitment to sustainable living. Remember, every solar-powered meal is a small step towards a more sustainable future. Happy cooking under the sun!


