So, why bother with a DIY solar cooker? Well, for starters, it’s a fantastic way to reduce your carbon footprint while camping. No more lugging around heavy fuel canisters or worrying about fire bans. Plus, there’s something incredibly satisfying about cooking a meal using nothing but the sun’s rays. It’s like you’re some kind of solar sorcerer!
But here’s the real kicker – building your own solar cooker is a great way to save some serious dough. Commercial models can cost a pretty penny, but with some cardboard, foil, and a bit of elbow grease, you can whip up your own sun-powered kitchen for less than the cost of a fancy camping meal.
In this guide, we’re going to walk through everything you need to know to build your very own solar cooker. From gathering materials to taking that first solar-cooked bite, I’ll be with you every step of the way. We’ll cover different designs, troubleshoot common issues, and I’ll even share some of my hard-earned tips for solar cooking success.
By the end of this article, you’ll be ready to harness the power of the sun and become the envy of every campsite. Let’s get cooking!
How to Build a DIY Solar Cooker

Understanding Solar Cooker Basics
So, how do solar cookers work their sunny magic? It’s all about capturing and concentrating the sun’s rays. Think of it like this: remember when you were a kid and used a magnifying glass to fry ants? Well, a solar cooker works on a similar principle, minus the ant carnage.
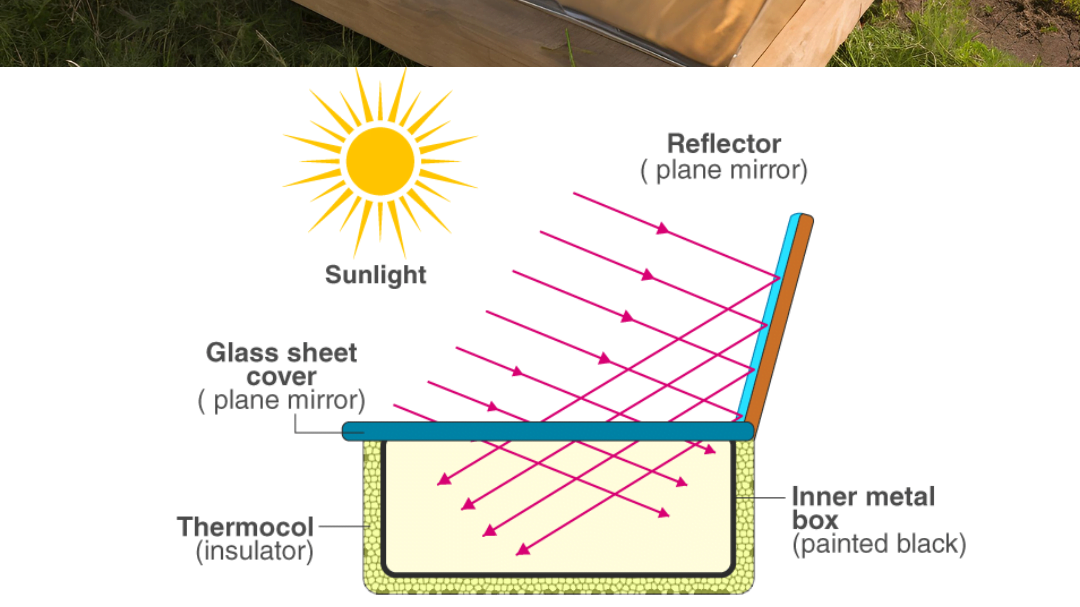
Solar cookers use reflective surfaces to direct sunlight onto a cooking pot, usually dark-colored to absorb heat better. The pot is often placed in some kind of insulated box or bag to trap the heat. It’s like creating a mini greenhouse for your food!
The three main types of solar cookers

- Box Oven: This is the minivan of solar cookers – reliable, spacious, and perfect for beginners. Imagine a cardboard box lined with foil, with a glass or plastic lid. It’s great for slow-cooking and baking. I once made a mean solar lasagna in one of these bad boys!

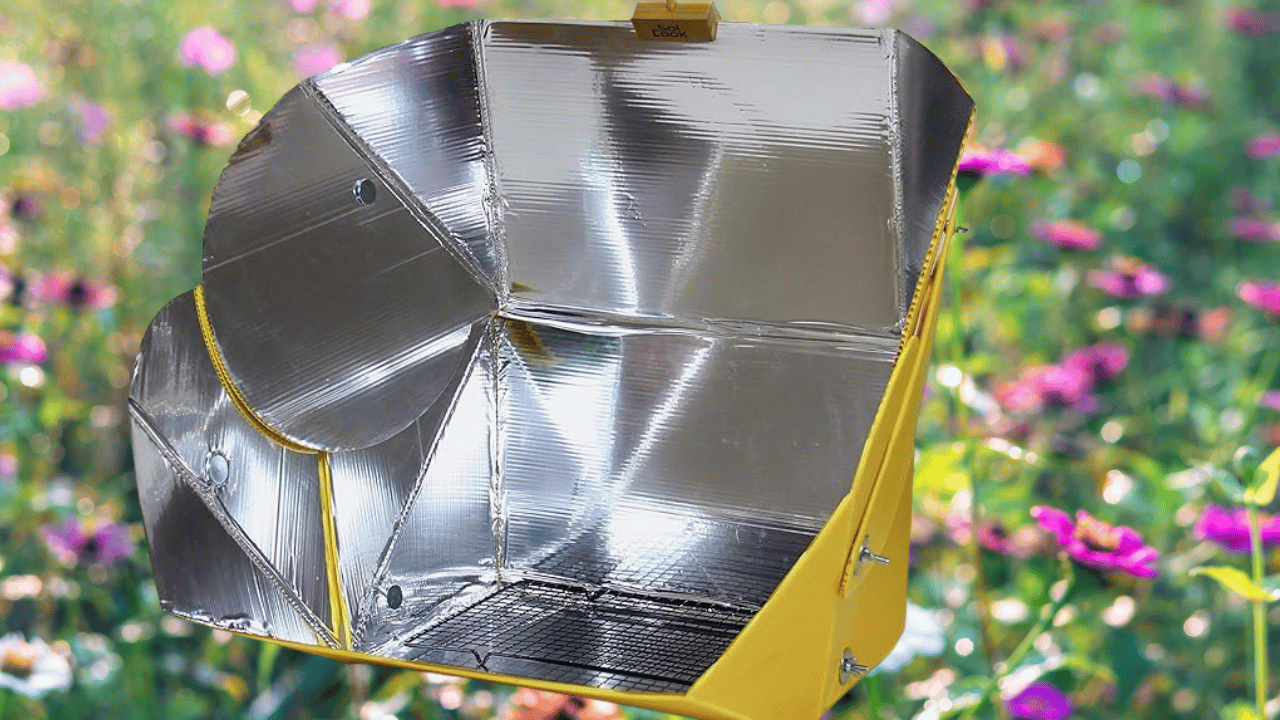
- Panel Cooker: Think of this as the sporty convertible of solar cookers. It’s lightweight, foldable, and perfect for backpacking. It usually consists of reflective panels that focus sunlight onto a cooking pot. I love using these for quick meals on the trail.

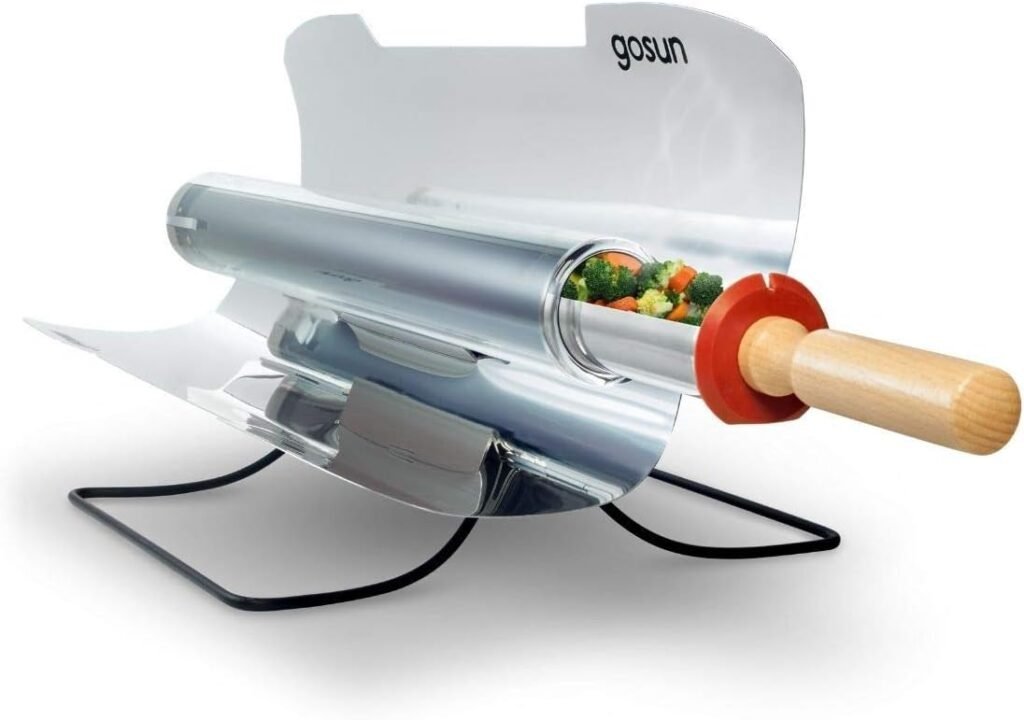
- Parabolic Cooker: It’s more complex to build but can generate serious heat. It uses a curved reflective surface to concentrate sunlight onto a small area. Warning: I once accidentally melted a plastic spoon with one of these. Oops!
Now, you might be wondering, “Why go through all this trouble when I could just buy a solar cooker?” Well, let me tell you about the benefits of DIY:
- Cost: Building your own solar cooker is way cheaper than buying one. We’re talking the difference between a fancy restaurant meal and a home-cooked dinner.
- Customization: When you build it yourself, you can tailor it to your specific needs. Want a cooker that doubles as a laptop case? Go for it! (Just don’t mix up your lunch and your computer.)
- Learning Experience: There’s something incredibly satisfying about cooking with a device you built yourself. It’s like being on a wilderness survival show, but with less drama and more delicious food.
- Eco-Friendly: By using recycled materials, you’re not only saving money but also reducing waste. Mother Nature will high-five you for this one!
- Conversation Starter: Trust me, nothing breaks the ice at a campsite quite like pulling out a homemade solar cooker. You’ll be the talk of the trail!

I remember the first time I used my DIY box oven at a family camping trip. My uncle, a seasoned camper who swore by his gas stove, scoffed at my “cardboard contraption.” But when I pulled out perfectly baked cinnamon rolls for breakfast, his jaw dropped faster than a hot marshmallow off a stick. From that day on, he was a solar cooking convert!
Understanding these basics will set you up for solar cooking success. But remember, like any good outdoor adventure, there will be some trial and error. Embrace it! After all, even a solar-cooked disaster makes for a great campfire story.
Now that we’ve got the basics down, are you ready to gather materials and start building? Let’s move on to the next section and turn you into a regular solar MacGyver!
Materials Needed for Your DIY Solar Cooker
- Cardboard box or poster board
- Aluminum foil
- Black paint or black construction paper
- Clear plastic wrap or a clear, heat-resistant plastic bag
- Glue or tape
- Scissors or utility knife
- Ruler or measuring tape
- Optional: Insulation material (newspaper, straw, or bubble wrap)
Step-by-Step Building Process
- Choose your design (box, panel, or parabolic)
- Prepare your materials
- Cut and shape the reflective surfaces
- Assemble the main structure
- Add insulation (for box cookers)
- Install the cooking chamber
- Apply finishing touches and weatherproofing
Testing and Adjusting Your Solar Cooker
- Finding the optimal angle for sunlight
- Conducting a water boil test
- Adjusting reflector positions
- Ensuring proper insulation
Tips for Efficient Solar Cooking
- Use dark, thin-walled cooking pots
- Preheat your cooker
- Cut food into smaller pieces
- Use oven bags to retain heat
- Rotate the cooker to follow the sun
Maintaining Your DIY Solar Cooker
- Clean reflective surfaces regularly
- Store in a dry place
- Replace damaged parts promptly
- Consider weatherproofing for longer lifespan
Real-World Applications and Experiences
- Camping and hiking uses
- Emergency preparedness
- Educational projects
- Reducing energy consumption at home
Comparing Your DIY Solar Cooker to Commercial Options
- Cost comparison
- Performance analysis
- Customization benefits
- Environmental impact
Conclusion
Building your own DIY solar cooker is a rewarding experience that combines creativity, sustainability, and the joy of outdoor cooking. Not only does it provide a eco-friendly alternative to traditional camping stoves, but it also offers a unique way to connect with nature and harness renewable energy.
As you embark on your solar cooking journey, remember that practice makes perfect. Don’t be discouraged if your first attempts aren’t culinary masterpieces – each try will bring you closer to solar cooking expertise.
We’d love to hear about your DIY solar cooker adventures! Have you built one? What design did you choose, and how did your first solar-cooked meal turn out? Share your stories, tips, and even your delicious solar-cooked recipes in the comments below. Your experiences could inspire and help fellow outdoor enthusiasts on their own solar cooking quests!
Now, go forth and harness the power of the sun. Happy solar cooking!
Related Articles
- The Ultimate Guide to Solar Ovens
- The Ultimate Guide to Solar-Powered Outdoor Kitchens
- Best Solar-Powered Outdoor Kitchen Appliances for Off-Grid Living
- Solar-Powered vs. Traditional Camping Stoves: A Comprehensive Comparison
- Mastering Solar Cooking: Tips and Tricks for Delicious Outdoor Meals
- Solar Cooking 101: Everything You Need to Know About Harnessing the Sun’s Power for Outdoor Meals
- How to Build a DIY Solar Cooker for Camping and Emergencies


