I’m happy to share my best solar string light installation tips as one accomplished outdoor lighting enthusiast could.
Once you have mastered these techniques, your backyard will be the envy of the neighborhood.
Why Choose Solar String Lights?
Before we dive into these installation tips, let’s talk about why solar string lights are such a fantastic choice.
Did you know that investing in solar can slash your energy costs by up to 80%?
Not only are you creating a stunning ambiance, but you’re also being kind to both the environment and your wallet.
It’s a win-win situation that makes me feel good about my lighting choices.

Choosing the Perfect Solar String Lights
When it comes to solar string light installation, the first step is selecting the right lights for your space.
The first time I bought solar string lights – I was overwhelmed by the options!
But don’t worry, I’ve got you covered.
Here’s what you need to consider:
- Light Type: LED solar string lights are my go-to choice. They’re energy-efficient and long-lasting.
- Battery Life: Look for lights with high-capacity batteries. I prefer ones that can last at least 8-10 hours on a full charge.
- Weather Resistance: Trust me, you want lights that can withstand the elements. IP65 waterproof rating is what I usually recommend.
- String Length: Measure your space and choose a length that fits. Remember, it’s better to have a bit extra than to come up short!
Pro Tip: I always check customer reviews before buying.
They’ve saved me from some potential lighting disasters!
Want to learn more check out my buying guide on solar string lights
Planning Your Solar String Light Layout
Now that you’ve got your lights, it’s time to plan your layout. This is where the magic happens.

- Measure Your Space: I can’t stress this enough – accurate measurements are crucial. I once eyeballed it and ended up with a tangled mess. Learn from my mistake!
- Sketch It Out: I always draw a rough diagram of my space. It helps me visualize the final result and plan the light placement.
- Identify Support Structures: Look for sturdy points to hang your lights. Trees, fences, pergolas – they’re all fair game!
- Consider Solar Panel Placement: This is critical for solar string light installation. The panels need maximum sun exposure. I usually place mine facing south for optimal charging.
Gathering Your Tools
Before you start your solar string light installation, make sure you have all the necessary tools. Here’s what I always keep in my installation toolkit:
- Measuring tape
- Ladder or step stool
- Cable ties or zip ties
- Command hooks or screw-in hooks (depending on your surface)
- Scissors
- Electrical tape
- Gloves
Safety first! I always wear gloves and use a sturdy ladder when working at height.
Solar String Light Installation Tips: Step-by-Step Guide

1. Prepare Your Area
Start by clearing the installation area. I like to think of this as creating a blank canvas for my lighting masterpiece. Remove any obstacles, trim overhanging branches, and clean the surfaces where you’ll be attaching lights.
2. Position Your Solar Panel
The key to successful solar string light installation is proper solar panel placement. I always look for a spot that gets at least 6-8 hours of direct sunlight daily. South-facing locations are ideal in the Northern Hemisphere. If you’re in the Southern Hemisphere like me, north-facing is the way to go!
3. Start Hanging Your Lights
Now for the fun part – hanging your solar string lights! I usually start from the solar panel and work my way outwards. Here are some hanging techniques I use:
- For wooden surfaces: I use screw-in hooks. They’re sturdy and reliable.
- For brick or concrete: Command hooks are my best friends. They’re strong and don’t damage the surface.
- For temporary installations: I swear by high-quality zip ties. They’re easy to install and remove.
Remember to leave some slack in the string to account for wind and temperature changes. Nobody wants saggy lights!
For more tips check out my post on How to Hang Solar String Lights: A Step-by-Step Guide
4. Secure Connections
As you’re hanging, make sure all connections are secure. I always use electrical tape to waterproof any connection points. It’s a small step that can save you a lot of headaches down the line.
5. Test Your Lights
Once everything is in place, it’s time for the moment of truth! Cover the solar panel to simulate darkness and switch on your lights either led or Incandescent. I still get a thrill every time I see my newly installed lights twinkle to life!
Maintenance and Care
To keep your solar string lights shining bright, a little TLC goes a long way. Here’s what I do to maintain my solar string lights:
- Clean Regularly: I wipe down the solar panels and light bulbs every few weeks. Dust and dirt can significantly reduce efficiency.
- Check Connections: Every month or so, I inspect all connections to ensure they’re still secure and waterproof.
- Winter Care: In harsh winters, I bring my lights indoors. If you leave them out, make sure to brush off any snow from the solar panels.
- Battery Replacement: Most solar lights have replaceable batteries. I change mine every 1-2 years to maintain optimal performance.

Creative Ideas to Enhance Your Display
Now that you’ve mastered solar string light installation tips, why not get creative? Here are some ideas I’ve tried:
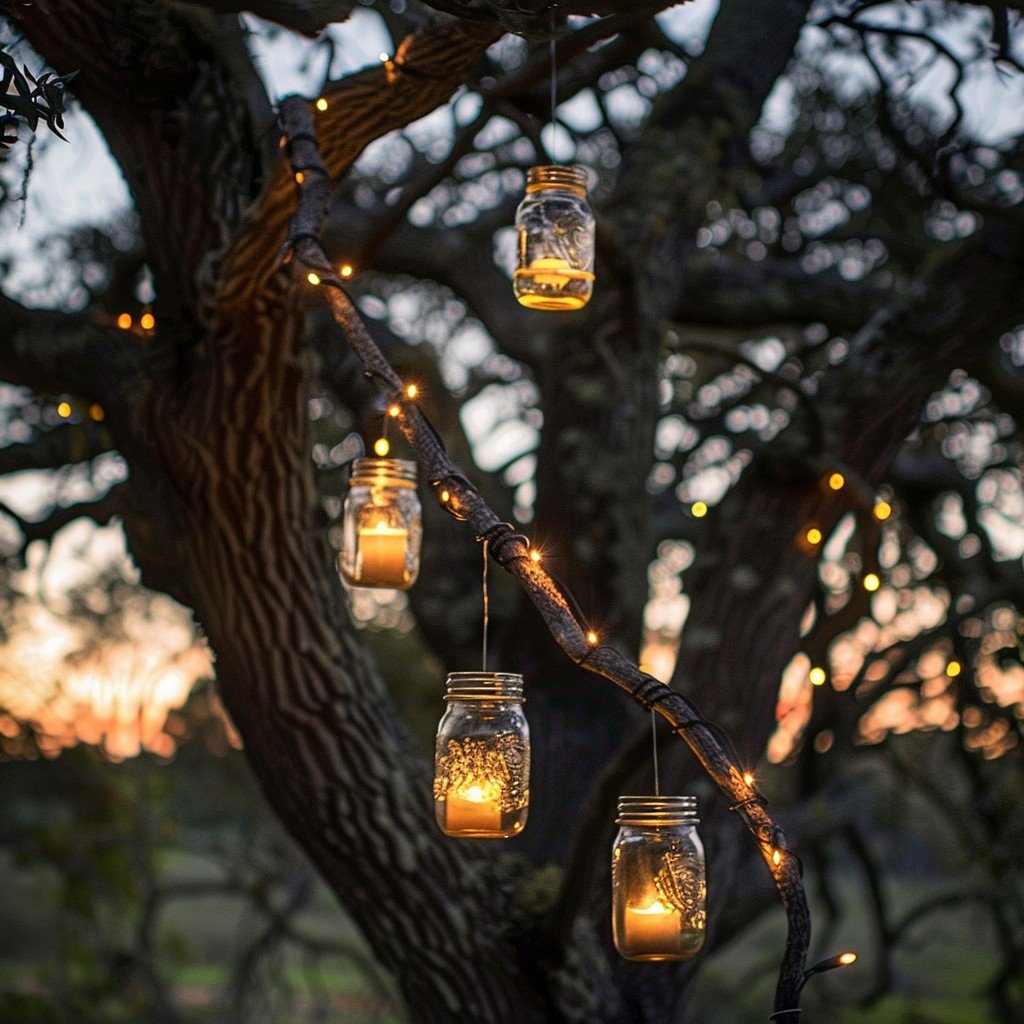
- Mix and Match: Combine different types of solar lights for a dynamic display. I love pairing string lights with solar lanterns.
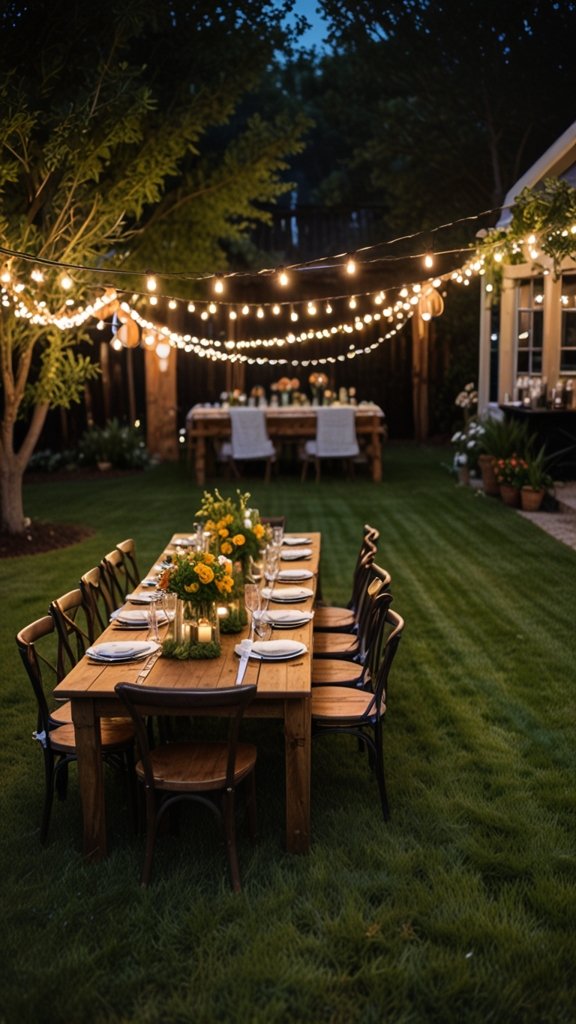
- Create Patterns: Use your lights to create shapes or spell out words. It’s a hit at parties!
- Seasonal Decorating: I change up my light colors for different holidays. Orange for Halloween, red and green for Christmas – the possibilities are endless!
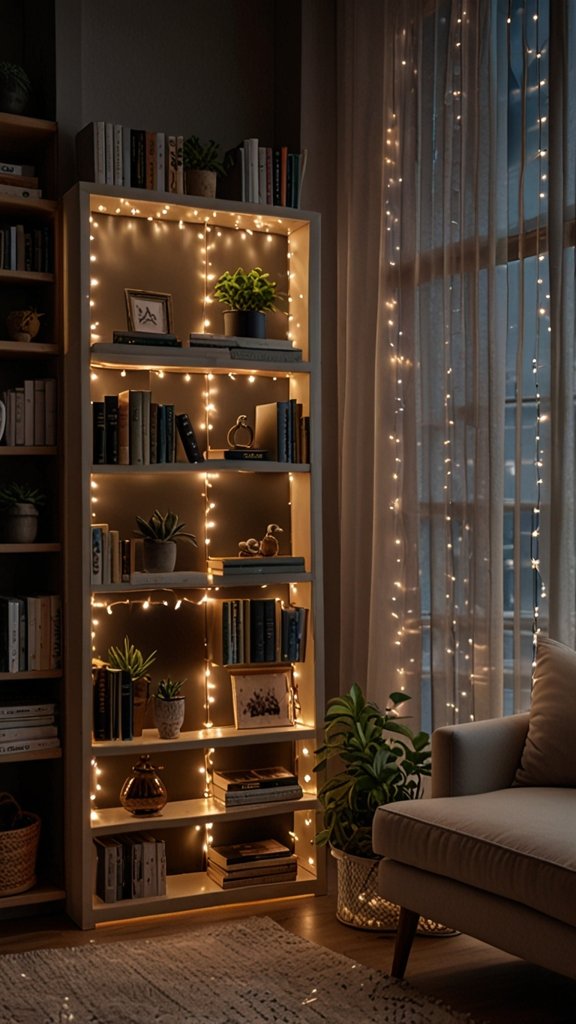
- Light Up Plants: Wrapping lights around trees or through bushes creates a magical forest effect.
Troubleshooting Common Issues
Even with perfect solar string light installation, you might encounter some issues. Here’s how I deal with common problems:
- Dim Lights: Usually a charging issue. I check for obstructions to the solar panel and clean it thoroughly.
- Flickering Lights: Often caused by loose connections. I go through and secure all connection points.
- Lights Not Turning On: If cleaning the panel doesn’t work, it might be time to replace the batteries.
FAQ
Q: How long do solar string lights typically last?
A: With proper care, I’ve had solar string lights last 2-3 years. The LED bulbs can last even longer, up to 5 years!
Q: Can I use solar string lights in winter?
A: Absolutely! However, they might not shine as brightly due to reduced sunlight. I sometimes supplement with a backup battery pack on particularly gloomy days.
Q: How do I store solar string lights?
A: I clean them thoroughly, ensure they’re completely dry, and store them in a cool, dry place. I use the original packaging if I still have it, or wrap them around a piece of cardboard to prevent tangling.
Conclusion
And there you have it, My comprehensive guide to solar string light installation. I hope these tips and tricks help you create the outdoor setting of your dreams. Remember, the key to a stunning display is careful planning, proper installation, and regular maintenance.
I’d love to hear about your solar lighting adventures! Have you tried any unique installation techniques? Do you have a creative display idea to share? Drop a comment below I love to hear.
Happy installing!