
There are so many ways to transform your backyard into a space that your neighbors green with envy. Using solar-powered lighting options can speed up that process while being eco-friendly.
In this article, we`ll guide you with detailed steps on how and ways to hang solar lanterns And let me tell you, you don’t want to miss out.
What are the ways to hang solar lanterns?
Explore 7 ingenious ways to hang and DIY solar lanterns in your backyard, to transform your outdoor space into an environmentally friendly retreat and Instagram-worthy. Let’s dive in and light up your world!

1. Tree Branch Chandeliers: Bringing Woodland Magic to Your Backyard
Picture stepping into your backyard, and overhead, there’s a mesmerizing display of light dancing among the tree branches. Sounds like something out of a fairy tale, right? Well, it’s time to make that dream a reality with our first creative garden lighting technique – tree branch chandeliers!
Here’s how you can create your woodland-inspired lighting fixtures:
Start by taking a stroll around your yard or a nearby park (with permission, of course!) to find the perfect branch. Look for one that’s sturdy and has an interesting shape with multiple smaller branches.
Once you’ve found your star branch, clean it and let it dry completely. If you want to go the extra mile, you can sand it down for a smoother finish.
Now comes the fun part – arranging your solar lanterns! Try different layouts to see what looks best. You might want to cluster them in groups or spread them out evenly along the branch.
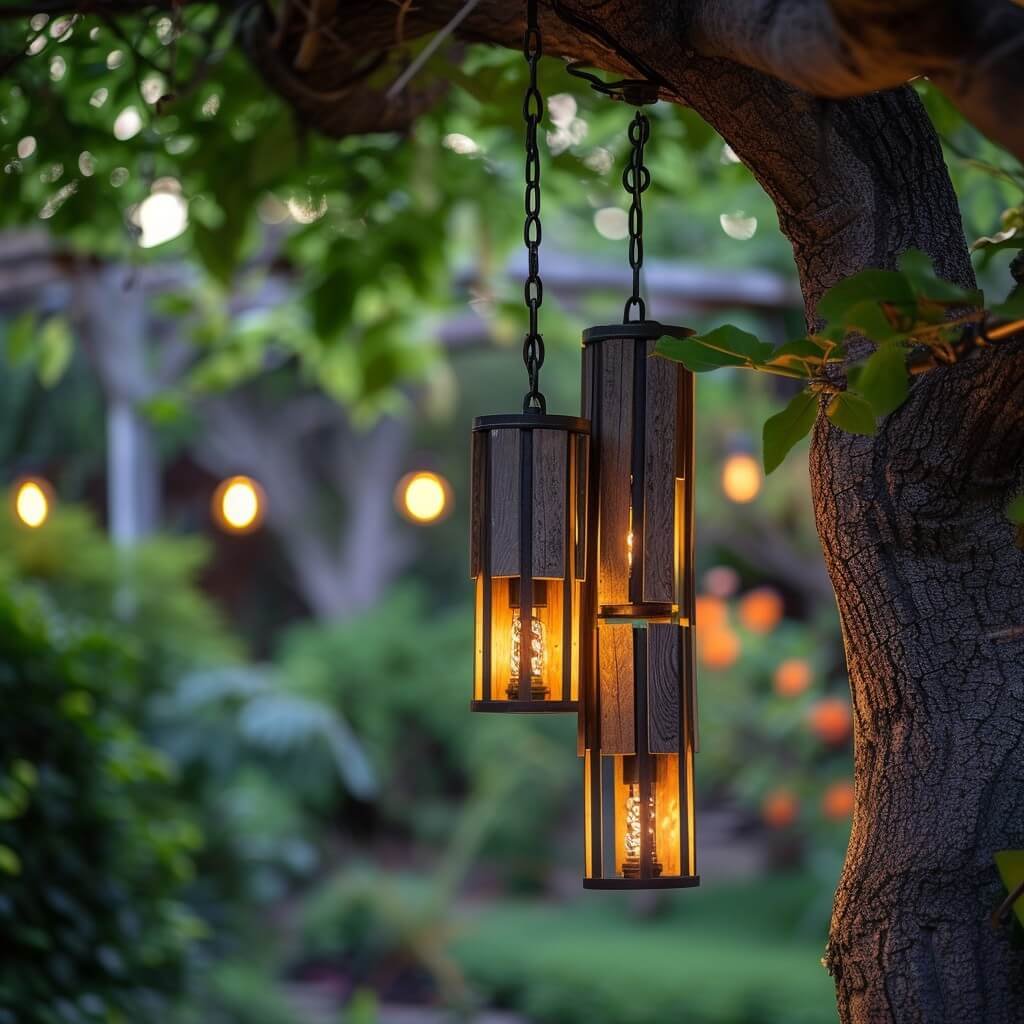
To attach the lanterns, use strong twine or thin wire. Ensure they’re secure – we don’t want any lanterns making a break for it during a windy night!
Finally, it’s time to hang your masterpiece. Choose a sturdy tree branch in your yard and suspend your chandelier with a heavy-duty rope or chain.
Remember, safety first! Make sure the branch you’re hanging from can support the weight of your creation. And hey, if you’re uncomfortable climbing trees, there’s no shame in calling a professional to help with the installation.

2. Whimsical Wire Sculptures: Let Your Imagination Take Flight
Who says lighting fixtures can’t be works of art? With our next idea, we’re going to create some truly unique backyard lighting solutions that double as eye-catching sculptures.
Get ready to unleash your inner artist with whimsical wire sculptures!
Here’s how to create your illuminated garden features:
Start by sketching out your design. Think butterflies, stars, abstract swirls – the sky’s the limit!
Choose a sturdy wire that’s thick enough to hold its shape but thin enough to bend easily. Copper wire is a great option as it’s both durable and attractive.
Using pliers, start shaping your wire into your chosen design. Don’t worry if it’s not perfect – that’s part of the charm!
As you’re creating your sculpture, think about where you’ll place your solar lanterns. You might want to create loops or hooks to hang them from.
Once your sculpture is complete, it’s time to add the lanterns. Try different arrangements until you find one that balances the weight and looks visually appealing.
Finally, find the perfect spot in your garden to display your illuminated masterpiece. You could stake it into the ground, hang it from a tree, or even mount it on a wall.
Remember, working with wire can be tricky, so take your time and be careful of sharp edges.
And hey, if your first attempt doesn’t turn out quite as planned, don’t sweat it! Each piece is unique, and that’s what makes them special.
3. Repurposed Ladder Light Display: Climbing to New Heights of Creativity
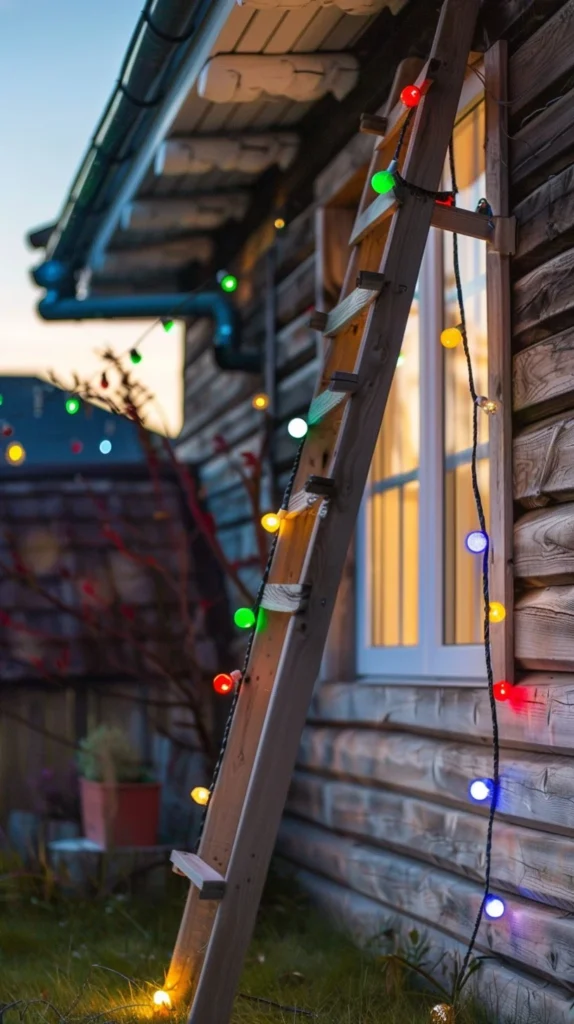
Do you have an old wooden ladder gathering dust in your garage?
Well, dust it off because we’re about to turn it into a show-stopping vertical lighting feature!
This DIY outdoor lighting project is perfect for those who love a bit of rustic charm in their garden decor.
Here’s how to create your ladder light display:
- Start by giving your ladder a good clean. If it’s looking a bit worse for wear, consider giving it a fresh coat of paint. Choose a color that complements your outdoor space – maybe a crisp white for a classic look, or a bold color for a fun pop!
- Once your ladder is ready, it’s time to plan your lantern arrangement. Try hanging lanterns at different heights for a more dynamic look. You could even alternate between lanterns and potted plants for a lush, garden-party vibe.
- To hang your lanterns, you can use hooks screwed into the ladder rungs, or get creative with ribbon or twine for a softer look.
- Now, let’s talk about placement. Lean your ladder against a wall for a casual, laid-back feel, or secure it upright for a more dramatic statement piece. If you’re feeling extra crafty, why not hinge two ladders together to create an A-frame structure?
- For an extra touch of whimsy, consider wrapping fairy lights around the ladder itself. Just make sure they’re outdoor-rated!
Remember, safety is key here too. Make sure your ladder is stable and secure before hanging anything from it. And if your ladder has seen better days, it might be best to use it as a template to build a new, sturdy structure specifically for this project.
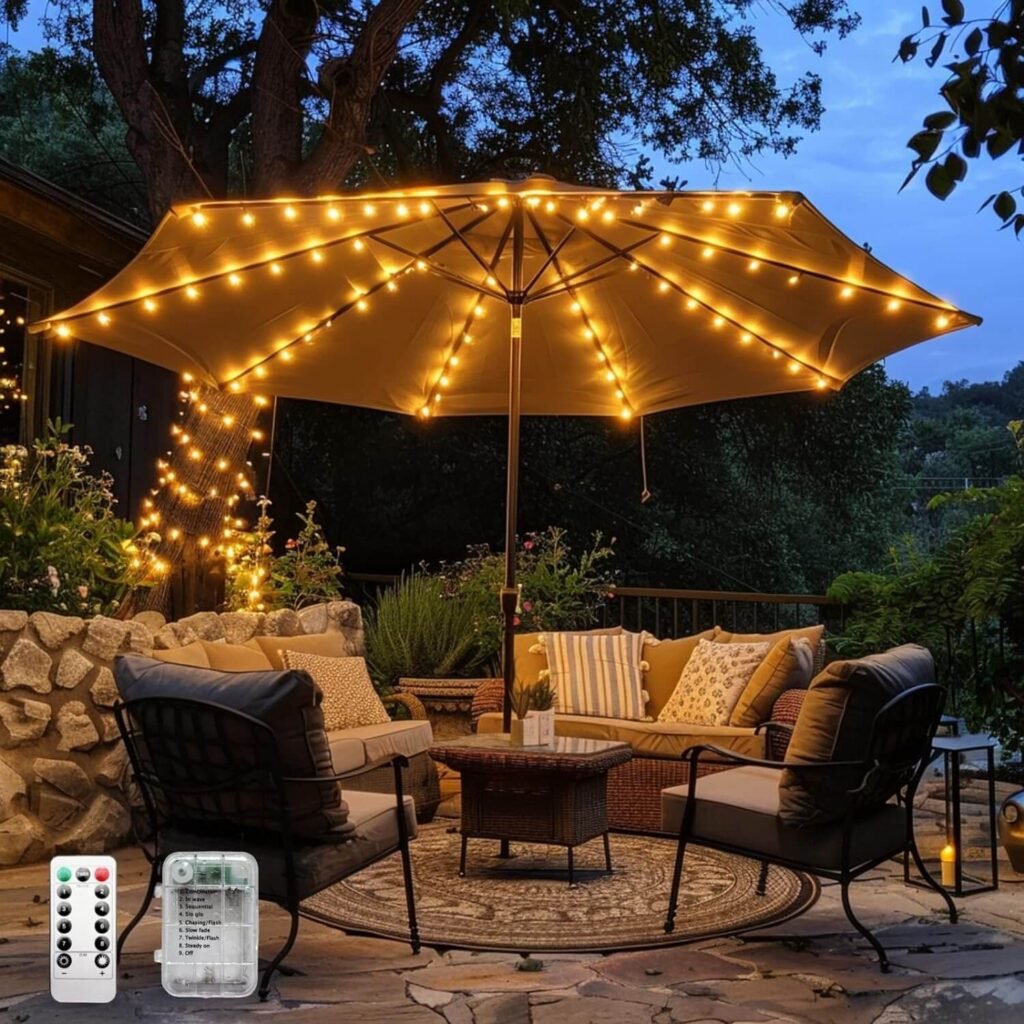
4. Floating Umbrella Canopy: A Rainy Day Dream Come True
Okay, I hope you are getting ready for this one because it’s about to blow your mind! We’re going to create a floating umbrella canopy that’ll have your guests wondering if they’ve stepped into a whimsical wonderland. This is one of those garden party decorations that’s guaranteed to wow!
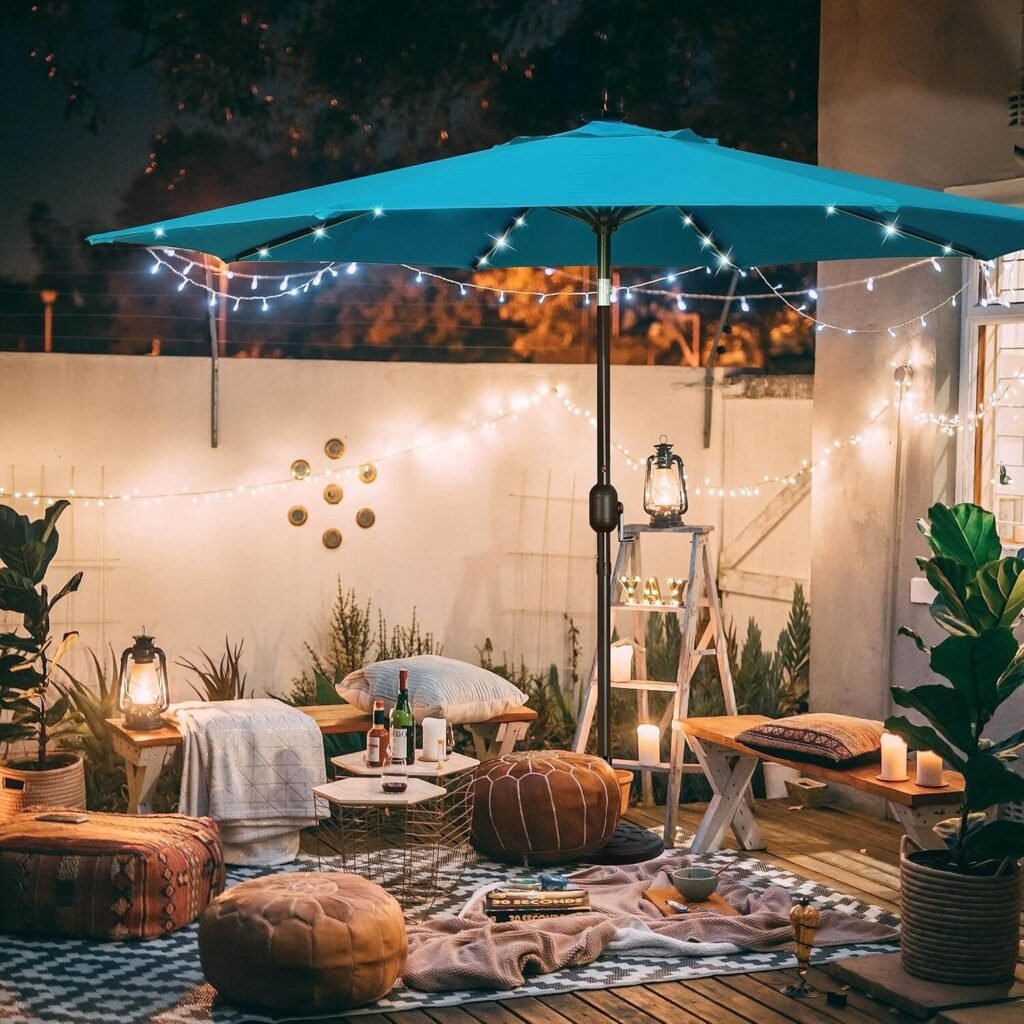
Here’s how to create your own magical umbrella canopy:
First things first, you’ll need to gather your materials. Look for colorful, transparent umbrellas – they’ll create a beautiful stained-glass effect when the light shines through.
Next, you should remove the handles from your umbrellas. We’re going for a floating effect here, so handles are a no-go.
Now comes the fun part – hanging your umbrellas! You can suspend them from tree branches, a pergola, or even create a freestanding structure using poles or pipes.
To hang the umbrellas, use a strong fishing line or thin, clear wire. Attach it to the metal ribs of the umbrella for the most secure hold.
Once your umbrellas are in place, it’s time to add the solar lanterns. Hang them at varying heights within and below the umbrellas for a truly magical effect.
Consider using fairy lights or colorful ribbons streaming down from the umbrellas for an extra touch of enchantment.
This floating canopy creates the perfect cozy atmosphere for outdoor entertaining. Imagine sipping on a cool drink under your twinkling umbrella sky—pure bliss!

5. Glowing Garden Arbor: A Luminous Entryway to Paradise
Want to create a truly enchanting entrance to your backyard paradise? Look no further than a glowing garden arbor! This project combines beautiful garden structures with creative outdoor lighting solutions for a result that’s nothing short of magical.
Here’s how to create your luminous garden arbor:

- Start with an existing arbor or pergola, or build your own if you’re feeling handy. A simple arch or rectangular structure works great for this project.
- Next, think about how you want to incorporate your solar lanterns. You could hang them directly from the top of the structure, or create cascading strings of lights.
- If you’re going for a more natural look, consider intertwining some climbing plants with your lights. Jasmine, clematis, or wisteria can create a stunning effect when combined with twinkling lights.
- For a more whimsical touch, try hanging lanterns of different sizes and shapes. Mix round paper lanterns with star-shaped ones for a celestial vibe.
- Don’t forget about the base of your arbor! Place some larger solar lanterns or light-up planters on either side to create a welcoming glow at ground level.
- Finally, consider adding some solar-powered string lights along the sides and top of your arbor for an extra layer of illumination.
This glowing garden arbor not only creates a beautiful focal point but also serves as a magical transition between different areas of your yard. It’s the perfect way to welcome guests into your outdoor living space!
6. Twinkling Trellis Wall: A Living, Glowing Masterpiece
A twinkling trellis wall combines the beauty of vertical gardening with the magic of solar lighting, creating a living, glowing masterpiece.
Here’s how to create your twinkling trellis wall:
- Start by installing a trellis against a bare wall or fence. You can buy ready-made trellises or build your own for a custom look.
- Next, plan out your plant and light arrangement. Consider using a mix of climbing plants like ivy, clematis, or jasmine to create a lush backdrop.
- As you train your plants up the trellis, start integrating your solar lanterns. You can hang them directly on the trellis or use shepherd’s hooks for a layered effect.
- Try creating patterns with your lights – maybe a zig-zag pattern or a cascading waterfall effect.
- Don’t forget about the base of your trellis! Place some larger solar lanterns or light-up planters at the bottom to create a beautiful glow from the ground up.
- For an extra touch of magic, consider adding some solar-powered string lights weaved through the trellis alongside your climbing plants.
This twinkling trellis wall is more than just a lighting feature – it’s a dynamic, living piece of art that changes with the seasons. By day, enjoy the lush greenery and blooms. By night, watch as your wall transforms into a mesmerizing light display!

7. Enchanted Bottle Tree: Upcycling Meets Outdoor Art
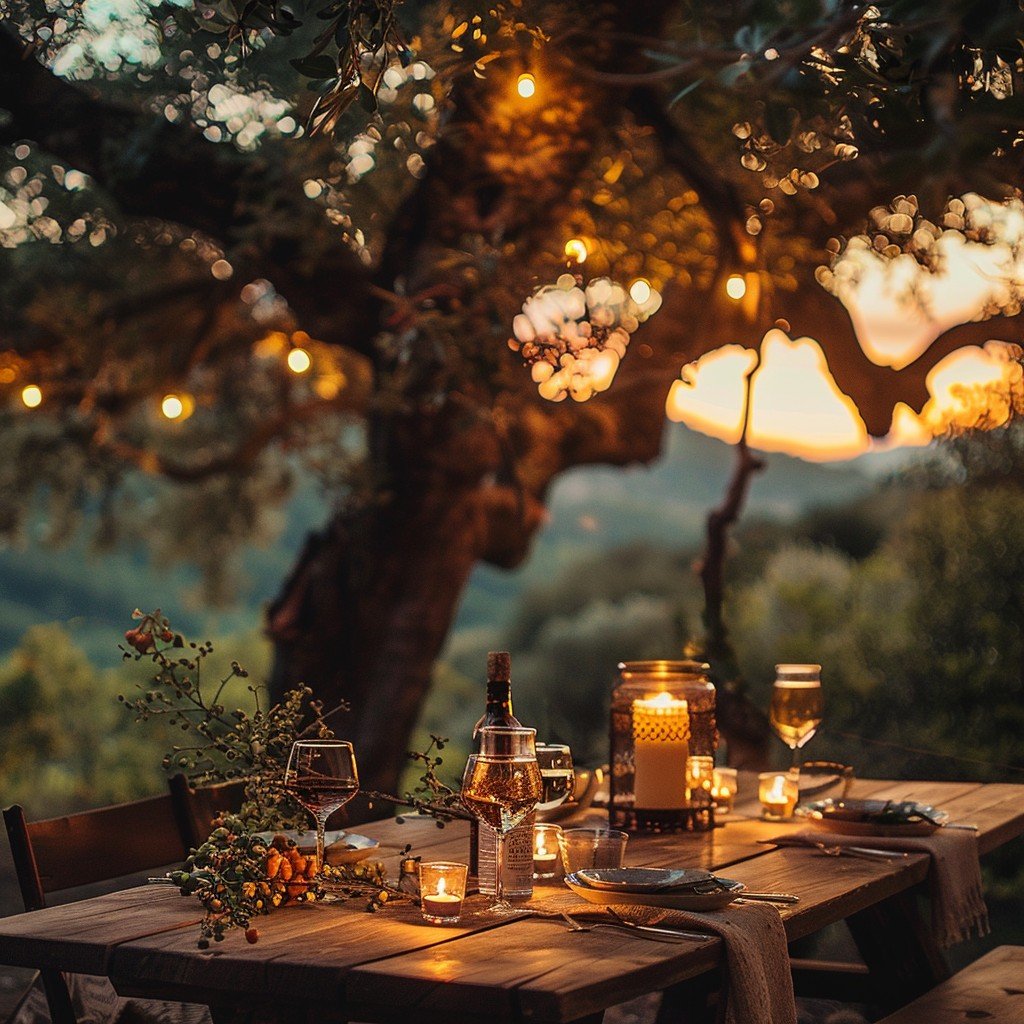
Do you have a collection of pretty bottles you just can’t bear to recycle? Turn them into a stunning piece of illuminated garden art with an enchanted bottle tree! This project is a beautiful way to upcycle and create a unique focal point in your garden.
Here’s how to create your own enchanted bottle tree:
- Start by collecting bottles in various colors and sizes. Blue, green, and clear bottles work particularly well for this project.
- Next, you’ll need to create the “tree” structure. You can use a dead tree or large branch, or create a structure from metal rods or pipes.
- Clean your bottles thoroughly and remove any labels. If you’re using a metal structure, you might want to drill holes in the bottles to secure them to the branches.
- Arrange your bottles on the branches, playing with different heights and colors to create an appealing composition.
- Now for the magic – place small solar lights inside each bottle. You can use individual solar bottle lights or string several bottles together with solar-powered string lights.
- Finally, secure your bottle tree in your garden. If you’re using a metal structure, you might want to cement it into the ground for stability.
Your enchanted bottle tree will create beautiful colored patterns as the light shines through the bottles at night. It’s a truly magical addition to any garden and a great conversation starter!
Wrapping It Up: Your Backyard Transformation Awaits!
There you have it – 7 easy ways to hang solar lanterns in your backyard that’ll make your outdoor space the talk of the town! From whimsical wire sculptures to enchanted bottle trees, we’ve covered a whole range of creative outdoor lighting solutions that are sure to transform your garden into a magical wonderland.
Remember, the key to successful outdoor lighting is to have fun and let your creativity shine.

